Written By Sam Henselijn
Homemade Nut Milk. Just a few years ago, the only alternatives to dairy milk were soy milk, and later, almond milk. These days, we have so many different kinds of nut milks available, including hazelnut, cashew, pistachio, walnut, macadamia…
Not to mention, there’s also a big health benefit that comes with drinking nut milks, since they’re such wholesome ingredients. The catch: regular nut milks contain stabilizers, preservatives, tons of added sugar, thickeners… And when you can find store-bought options that use clean, simple ingredients, they tend to be pretty pricey.
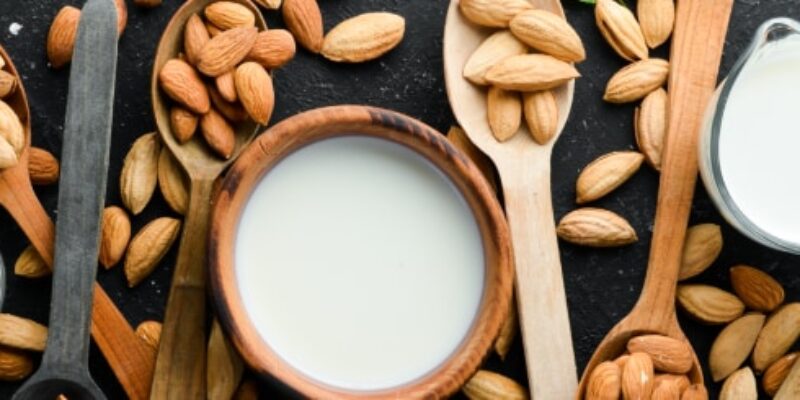
All the more reasons to learn how to make it yourself. Nut milk should contain only two ingredients: water, and whatever nut you choose to use. The whole process takes very little time and is incredibly easy!
Here’s our step-by-step guide on how to make homemade nut milk.
STEP 1- SOAKING THE NUTS
Soaking softens the nuts, making their natural flavor more readily
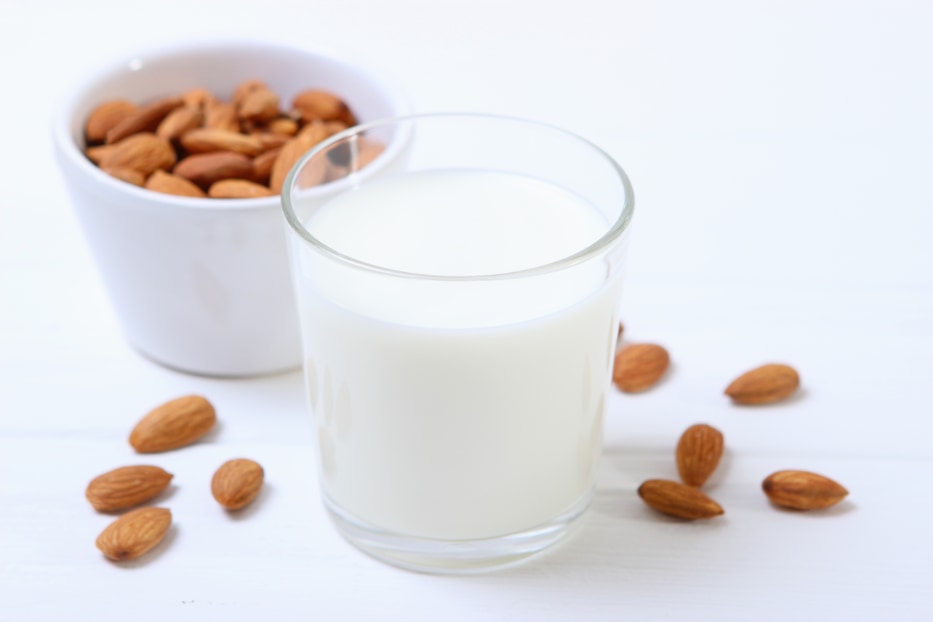
available after blending. It also makes nut milk easier to digest since it helps to break down hard-to-digest compounds. While most nuts benefit from being soaked, soaking times vary. When in doubt, simply soak overnight or for a minimum of 2 hours.
Place the nuts in a bowl with filtered water and refrigerate.
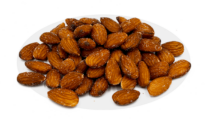
- Almonds: Soak for 8 hours
- Peanuts: Soak for 6 hours
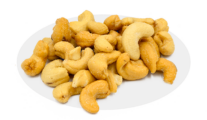
- Cashews: Soak for 4-6 hours
- Pecans: Soak for 2-4 hours
STEP 2 – BLENDING Nut Milk
Add soaked and rinsed nuts to a high-power blender with filtered water using a 1 cup of nuts to 4 cups of water ratio. Blend for about 3 minutes, or until the liquid turns milky and opaque. Using a food processor is also an option, but it will probably take longer until the nuts are finely broken down.
STEP 3 – STRAINING THE NUT MILK
Strain nut milk using a fine mesh strainer, a nut milk bag, or a cheese cloth – in this case, make sure to squeeze the cloth a few times to extract all of the liquid.
STEP 4 – STORING Nut Milk
Transfer the liquid to a glass bottle or jar using a funnel. Make sure it’s properly closed and kept in the fridge.
Extra tips:
- Use natural, unsalted nuts. While a pinch of salt added to the blender can help lift the flavors, salted nuts can be overly salted and ruin the flavor of your milk.
- While soaking makes nut milks easier to blend and digest, it’s ok to skip it if you don’t have the time. Your nut milk may end up slightly less creamy, but it will still taste delicious.
Nutrition
Nut milk is healthier for you! Nut milks are lower in fat compared to dairy milk, while also containing healthy fats like omega-3 fatty acids, which are related to a reduced risk of health disease. Since nut milks are low in calories and don’t contain cholesterol, they are a wonderful alternative for those on keto or looking to lose weight.
How long does it last?
Since there are no preservatives, homemade nut milk is best enjoyed within 4-5 days. If you notice the fat starting to separate, simply shake well before using.
Is blanching necessary?
Blanching the nuts is optional. Leaving the skin on will probably yield a larger amount of pulp to strain, but flavor-wise, there is no big difference. The exception is hazelnuts, which do need to have their skins removed to prevent bitterness. To do this, simply roast them in the oven for about 10-15 minutes, then rub them between paper towels to get most of the skin off.
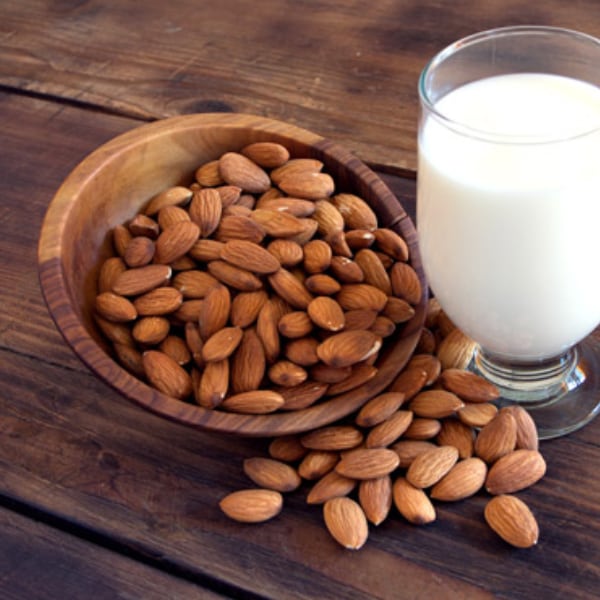
You can use the leftover pulp too
If you happen to have any leftover pulp from making nut milk, no need to throw it away! You can use it to make cookies, pizza crust, pancakes… If making almond milk, you can also make almond meal from the pulp.
Ways to enjoy your nut milk
Nut milks are super versatile! You can use homemade nut milk anywhere you’d use dairy milk — in smoothies, cereal, coffee, pancake batter, baking, etc.
Variations
Chocolate Hazelnut: A winning combo. Just add cocoa powder and either dates or maple syrup for sweetness.
Maple Pecan: Pecans are naturally sweater, but a touch of maple takes this milk to the next level.
Cinnamon Vanilla: This variety tastes ultra creamy and delicate. All you need is a pinch of cinnamon and a splash of vanilla.
Sam Henselijn Author’s Biography – Meet L’Orenta Nuts CEO
Copyright 2024 L’Orenta Nuts
L’Orenta Nuts proudly holds the SQF food safety certification, symbolizing our unwavering dedication to upholding the highest standards of food safety and quality. This certification guarantees that our products undergo rigorous scrutiny, ensuring transparency, traceability, and adherence to global food safety regulations for the utmost consumer confidence.
L’Orenta Nuts has the HACCP (Hazard Analysis and Critical Control Points) certification is a systematic approach to identifying, evaluating, and controlling food safety hazards. It ensures that food products are produced and handled in a manner that minimizes risks and complies with safety standards.
Our GMP (Good Manufacturing Practices) certification ensures that a manufacturing facility adheres to comprehensive quality and safety standards while producing pharmaceuticals, food, and other consumer goods, promoting consistency, quality, and compliance with regulatory requirements.
L’Orenta is an FDA-approved manufacturing facility and has met the rigorous standards set by the U.S. Food and Drug Administration. It demonstrates compliance with regulations, ensuring the production of safe and high-quality food products.


